Table of Contents
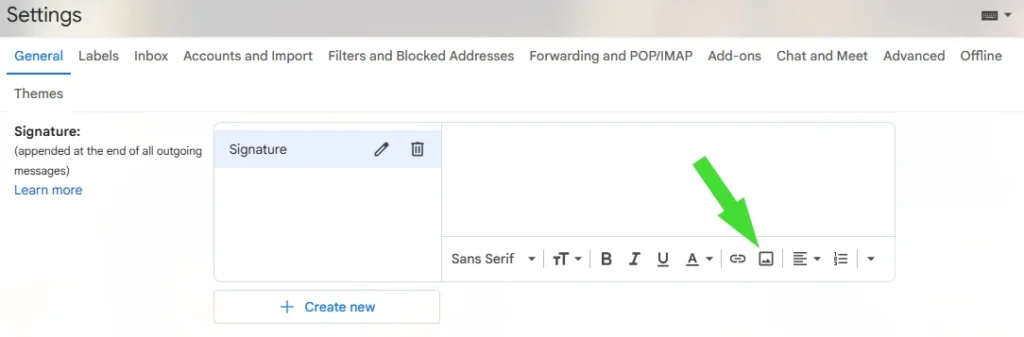
Click the image button in your Gmail signature settings
Go to your Gmail settings, General tab. Click to add a new Signature if you haven’t added one yet. Then click the image icon to open the image popup.
Upload your image
Upload your signature image to an image host that offers permanent direct image links hosting like Img.vision.
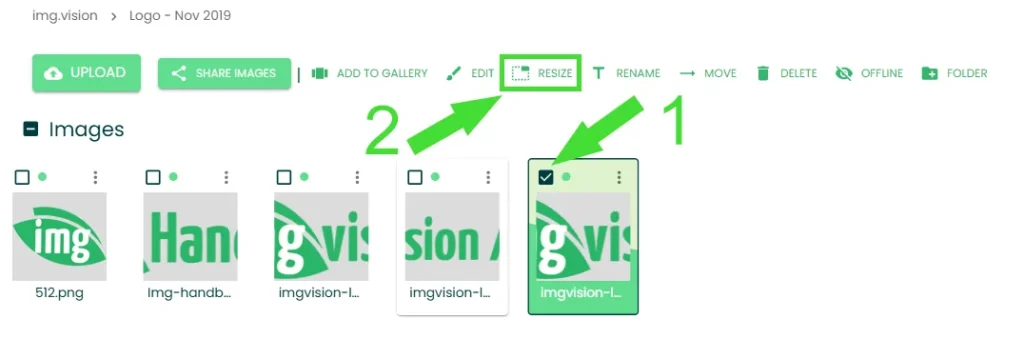
(Optional) Resize your logo
You may have a logo from a designer that is very high quality and has very big dimensions. It’s better to first shrink it down to an acceptable signature size.
If you are on the Professional tier of Img.vision and above, you can use the resize function in the Img dashboard to resize the image.
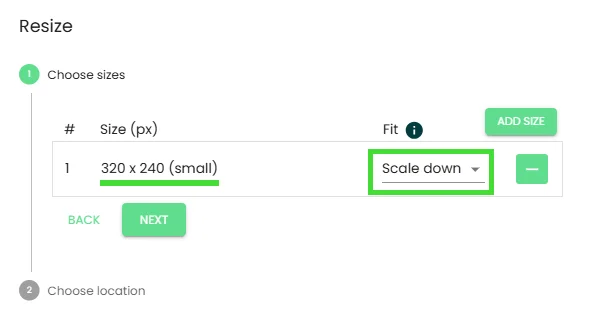
Choose size 320×240 (small) and fit “Scale down”. The image will be scaled down so it fits into these dimensions.
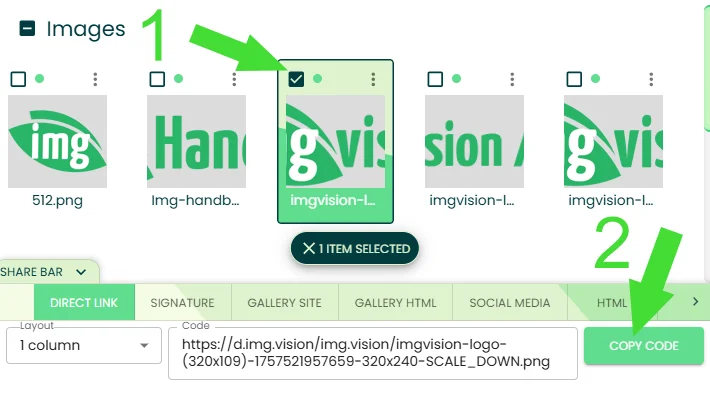
Grab the direct link
Grab the direct link from the image.
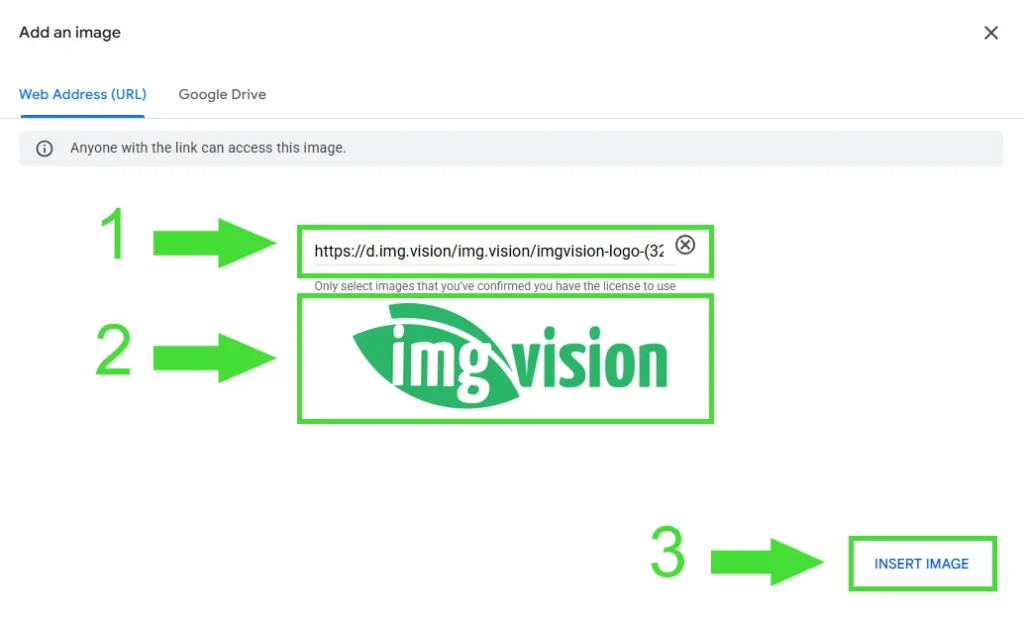
Paste the image link into the Gmail signature image link box
You’ve already opened the signature image box in step one of this guide. Now paste the signature image’s direct link into the link input box.
A preview of the image will be loaded after you do that, so you can verify the image looks good.
Click the button to insert the image using the direct link into the signature box.
Instruct Gmail to use the new signature
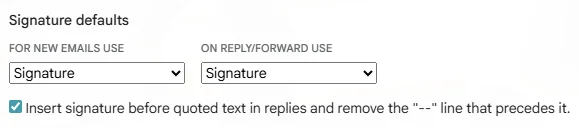
Once you’ve created the signature with the signature image. You need to tell Gmail to use the new signature.
You can make Gmail insert the signature automatically:
- For new emails only
- On reply/forward only
- Or in both cases
I recommend to check the checkbox that turns off the “–” line before the signature.
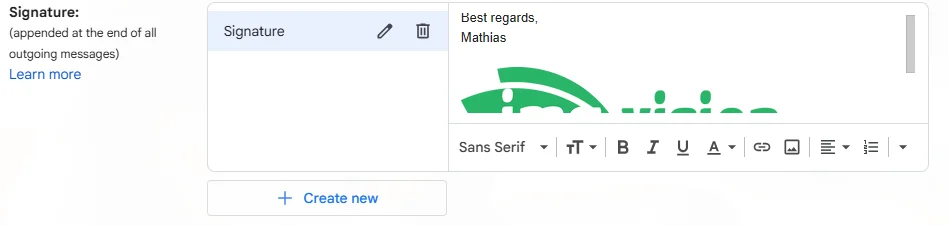
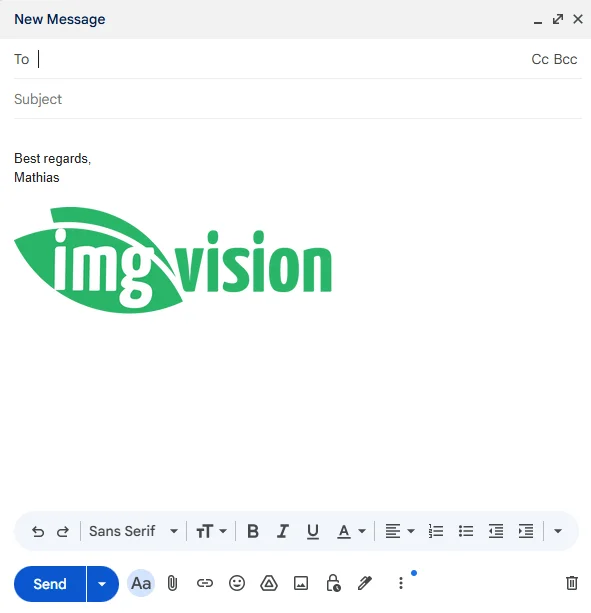
The image is now present in your signature
When you compose a new email, the signature including the image will be added by default.