Inside this article
Get in the mood
Everything starts with you and your brand. Take a good look at what you are selling and decide which look best suits your company image. If you are selling light, neutral products, consider working with pastels and whites. If on the other hand, your brand is vibrant and bold, pick colourful props to enhance this style. Whatever you do, be consistent!
A good way of ensuring consistency is starting off right. Scroll through Pinterest or (if you are the old-fashioned type) browse through some magazines and put together a mood board. Often, your instincts will drive you in the right direction. By bringing your inspiration together, you will have a clearer idea of your photography’s wants and needs.
Cater to the customer
You and your brand are important, but so are the people buying your product. What appeals to them? It is important to think this through carefully. For example, you sell children’s toys or tableware. It is very unlikely that two-year-olds are browsing the internet for their next favorite milk cup. Your target audience in this example, are young parents. So you should think about what will appeal to them. This will undoubtedly be a more neutral and serene set-up than what a toddler would find exciting.
Gather the props
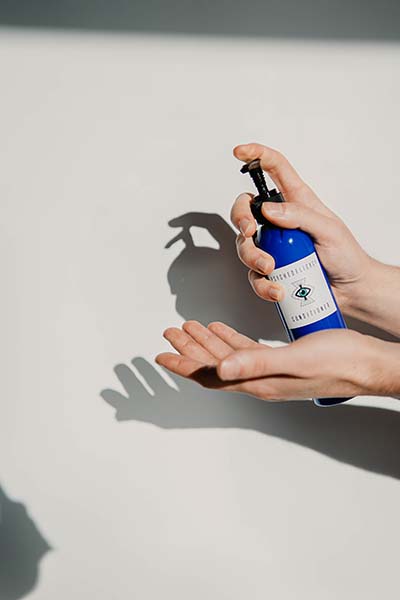
A photograph is, apart from being a mood maker, also an excellent source of information. How do you do this? By creating a visual context for the product you are selling. This can literally be photographing your product in use, e.g. clothes on a model or a blender mixing up a morning smoothie. If your product has a special feature, capture that in use. It will make your product stand out from the competition.
Of course, this isn’t always possible or appealing. There is no point in photographing a key chain inside your jacket pocket, is there? Luckily, you can use props to evoke the right setting. A key chain can be attached to actual keys and perhaps a well-placed wallet can accompany them in the background? If you are selling rose-scented candles it makes sense to use roses in your product photo. Use props to tell a story.

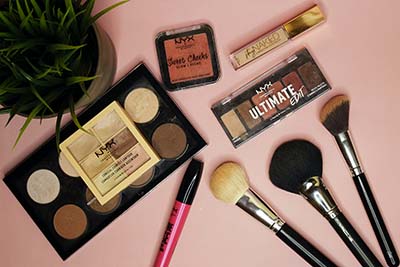
Although props can be very helpful, it is crucial that you don’t get carried away. Keep it simple and look for small items that match your product’s colour and style. Think about your mood board and be consistent.
Props do not need to be a huge investment. Before running off to the shop, take a look around you for things you already have. You should look for things that will add height and texture to your photo. Avoid anything with logos on them or edit them out of the picture afterwards. After all, you are selling your product, not somebody else’s.
Back it up
It is often overlooked, but a background can make or break a photo.
Play it safe and choose a simple background colour with a neutral texture. This is important because you don’t want the viewers to be distracted by the background. The background is there to serve the product! You can use wrapping paper, wall paper or wood as a backdrop. These are often inexpensive and you can easily store them and re-use them for your next photoshoot.
The background should always be well-lit. Use natural light as much as possible!
Stay composed
When you have all these elements in place, it is time for the composition.
First of all, think about the scale. Your product should be the main star. Don’t use props that overshadow your product. It can be good to use tall props to bring some height to the frame, but make sure they are not bulky.
Secondly, arrange props so that they are pointing towards your product. Experiment with placing them behind or in front of your product.
It can be helpful to keep the Rule of Thirds in the back of your mind. This states that our eye is naturally drawn to the area that is about two thirds up from the bottom of the photo or two thirds away from the side. Humans tend to find these set-ups visually pleasing.
Another visual trick you can combine with the Rule of Thirds is creating diagonal lines. This means that you use your props to guide the customer’s eye towards the product. This brings more depth into your picture. Diagonal lines can work top to bottom or off-centre from the top-left to the bottom right-hand corner.
To sum up, it is important to be consistent and choose your props wisely.
Whatever you do, don’t be afraid to experiment. Nobody gets the perfect shot in one single finger click, not even professionals. Rearrange set-ups, take a lot of pictures and ask for opinions. Like anything, photography is a learning process and the more you practice, the better you will get at it. So collect your things and start hitting that camera button!