You can easily get started adding your products to Google Shopping using the Google Merchant Center.
If you’re going to products very infrequently, or you want the simplest approach, you can add your products manually using the UI of the Google Merchant Center.
If you’re a bit more serious about this, then you should try the approach using the Google Merchant Center, Google Drive and Google Sheets. This is the how-to guide to get you started.
What this page covers
Steps
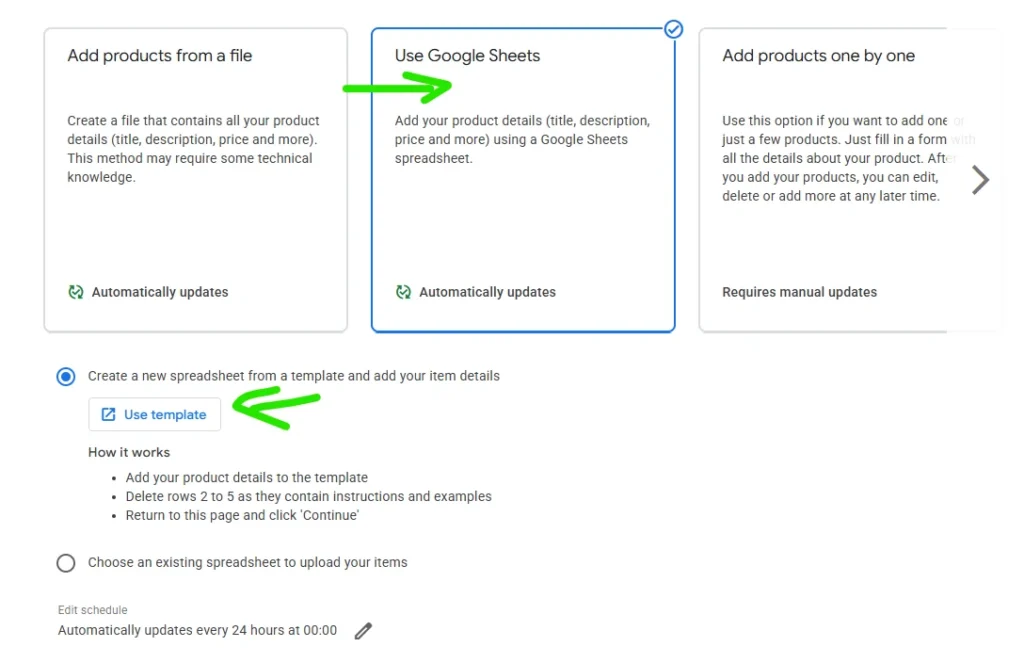
In data sources, choose Google Sheets
Navigate to data sources using the top right settings cog.
There choose to add a product source.
You might need to scroll a bit through the available options, but you will be able to select “Use Google Sheets”.
Setup and complete a Google spreadsheet
You will need to grant access to your Google Drive and to Google Sheets.
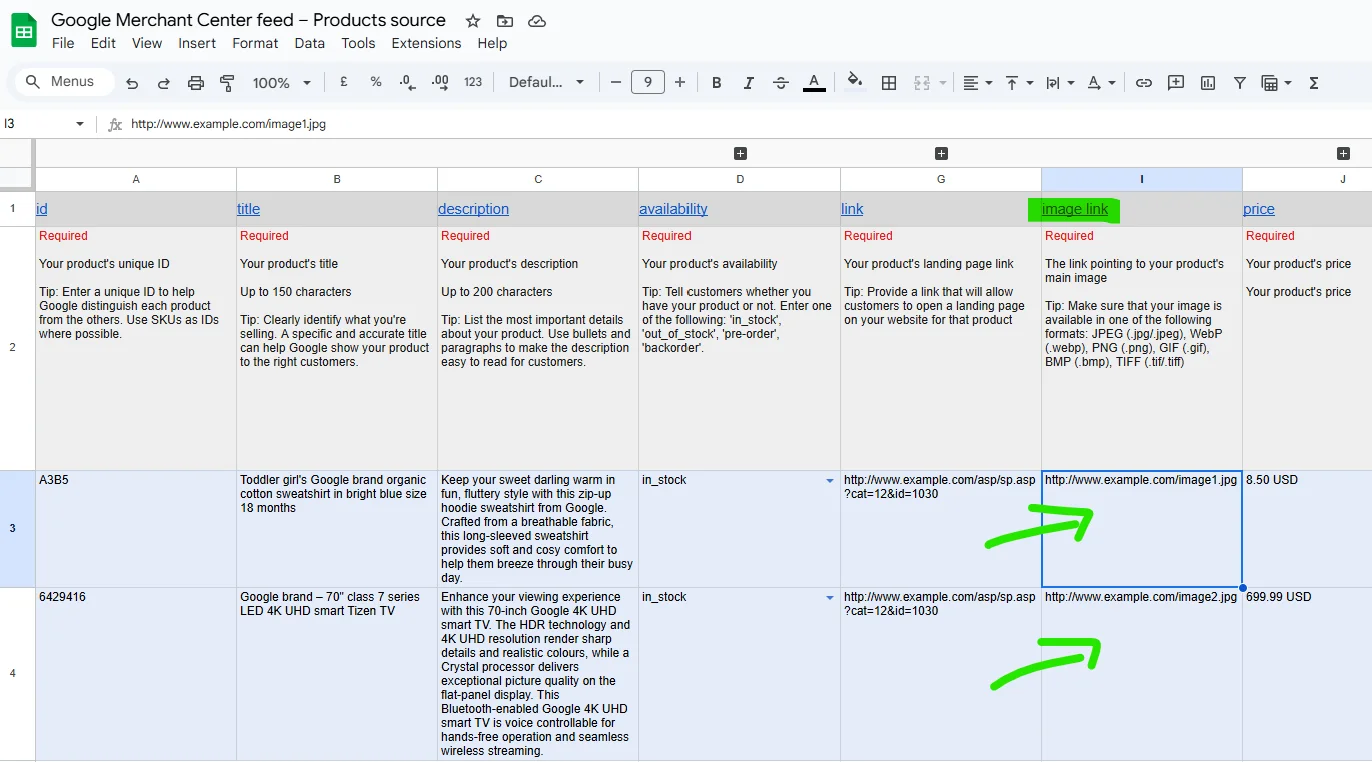
Once you open the template, you can see the columns and some example rows.
Each row is a product, and each colum contains the specified product attribute(s).
One of the columns, column I to be exact, is for the image link.
Paste your direct image link to your main product image into that column intersecting the product row.

Rows 2 to 5 need to be deleted as they are instructions and examples.
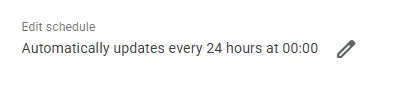
Once you’ve completed at least 1 full row, you can switch back to the Google Merchant Center data sources page, and press the continue button to upload the products.
Adding products later on
You can now find this product source sheet in your Google Drive or via Google Sheets. If you have new products, you can add a new product line and they will be imported automatically by the Google Merchant Center.