Although it is possible to add single items to Walmart Marketplace, uploading in bulk is a huge time-saver. It takes some time to set things up, but it will definitely pay off in the long run.
A bulk upload starts off with collecting all your images and product information.
Images can then be uploaded to an image host website. Next, you add the product details to an Excel spreadsheet and paste the links to the product images. These links are provided by the image host service.
Finally, you upload the Excel document to the Walmart marketplace. Walmart will download all the images and as of then, they will host the images internally.
Sounds good?
Let’s take a closer look at how to make it work!
Inside this article
Before you begin
Before you set off, it is important that you have collected all the necessary data and images and that you have a working knowledge of Excel.
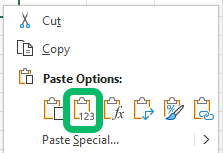
Speaking of Excel, it is important to know that you cannot use standard copy & paste to enter data. You have to use Special Paste and select Values to avoid your data being invalid.
Furthermore, be mindful when entering SKU and Product ID. These values are difficult to change later. EAN is not recommended.
Step 1: Upload to your image host
Once you have all your product photos and/or videos, upload them to an image hosting service as for instance, Img.vision. This will keep your images safe and will provide you with image links. If you have never used an image hosting service before, read this article about image hosting vs photo sharing.
Step 2: Setting up items with Full Item Spec (Bulk Upload)
First, you will have to download the “Full Item Spec” sheet associated with the category of your products.
- Log in to Walmart’s Seller Center.
- Click Add New Items.
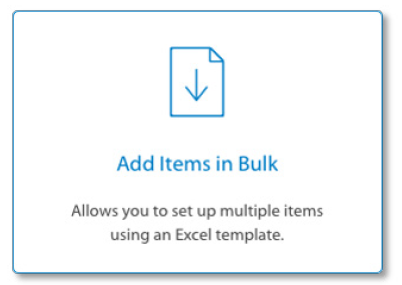
- Click on the Add Items in Bulk button.
- Click on the drop-down menu title Select a Category.
- Select the category for the Spec you want to download.
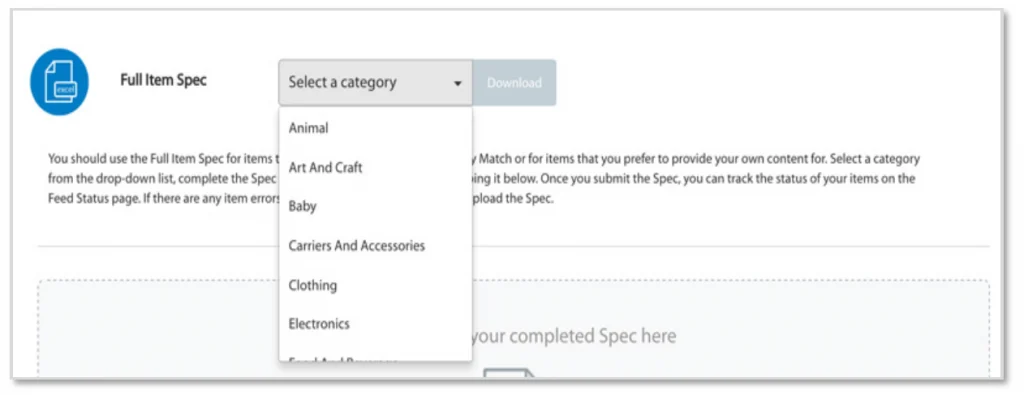
- Click the Download button.
Step 3: Prepare the Full Item Spec Spreadsheet
Macros
An important note before you start: it is best to enable macros when you open the Full Item Spec in Excel. If you try to save the spreadsheet while any required fields are still empty, the macros will alert you and highlight the fields in red.
This is how to do that:
- Open the Specs in Excel.
- Click on the Enable Macros button.
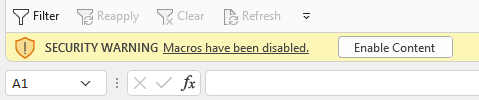
- Read the Instructions tab.

Subcategories
Once you have done this, you can move on to choosing the right subcategory for your items. If you are unsure which subcategory to choose, you can take a moment to read through Walmart’s subcategories overview on their website.
Subcategories can be found as tabs inside the Full Spec spreadsheet.

Required only
Finally, enable the “Show Required Only” option in your spreadsheet. You only need to complete the required fields.
All universally required fields are in red. There might be some additional required fields, depending on the information you enter. If so, return to the Walmart Toolbar and click “Show All Fields” to enter more fields.
If you don’t see this option, restart Excel.
Row 6
If you want to know more about each field, hover over row 6 in the Full Spec. You will get information on whether or not the field is required, conditionally required or optional. You can see if you need to enter text (abc), a decimal, an integer, etc and the character limit.
Step 4: Fill in the data
Data Definitions Tabs
Not sure what information to enter? Under the Data Definitions tab, you can search for the definitions of several attributes. This will help you complete the spreadsheet correctly.
Additional product images
If you would like to add more than one image, you can. You need to go to the Walmart Toolbar and click Show All Fields.
Next, go to an Image column and click the Add More button to create new image columns.
Set up a variant group
A variant group is when you offer one item in different shapes, colors or sizes. For example, a bedsheet that comes in different colors and measurements.
All items in a variant group should be set up as a separate item.
Validate the fields
After you have filled in all the required fields, click Validate Fields. Validations help you find the most common errors in filling out templates. It is useful, but keep in mind that they don’t verify accuracy nor do they find all possible errors.
A green color means the file is ready.
Red indicates a required cell is empty.
Invalid data will color grey. You can hover over line 6 to see the right data input and rewrite yours to match the example.
Blue cells will appear if your SKUs are not all unique. Review or rename your SKUs, rerun the validations and repeat this step until you have no errors.
After validating your data, save the Spec spreadsheet as either XLSM or XLSX.
Step 5: Upload to Seller Center
Submit
In order to upload your Spec spreadsheet, log in to Seller Center.
Click Add New Items.
Click on the Add Items in Bulk button and attach your file by either dragging and dropping or uploading it.
Click Submit to upload your spreadsheet. If an error message appears, check whether you have saved your file correctly (XLSM or XLSX).
Track
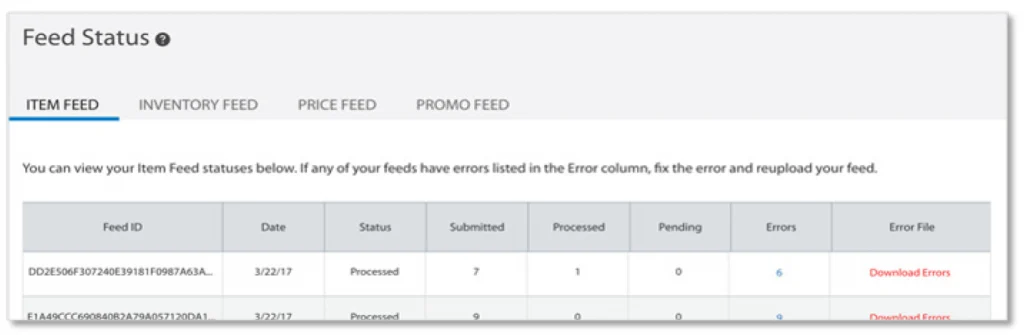
Soon after you submit your spreadsheet, you will be able to track its status on the Feed Status page. You can find Feed Status on the left navigation menu.
The following feed statuses can be shown:
| Feed ID | The reference ID of your feed |
| Date | Submission and processing start date of the file |
| Status | The current file status |
| Submitted | The number of SKUs mentioned in the file |
| Processed | The number of SKUs that were successfully processed |
| Pending | The number of SKUs that are waiting for Item Setup completion |
| Errors | This is how many errors occurred. The number in this field links to the error messages. You can see here the items that couldn’t be matched by Setup By Match Bulk Upload method. |
| Error File | Download the errors in a csv file. |
View errors
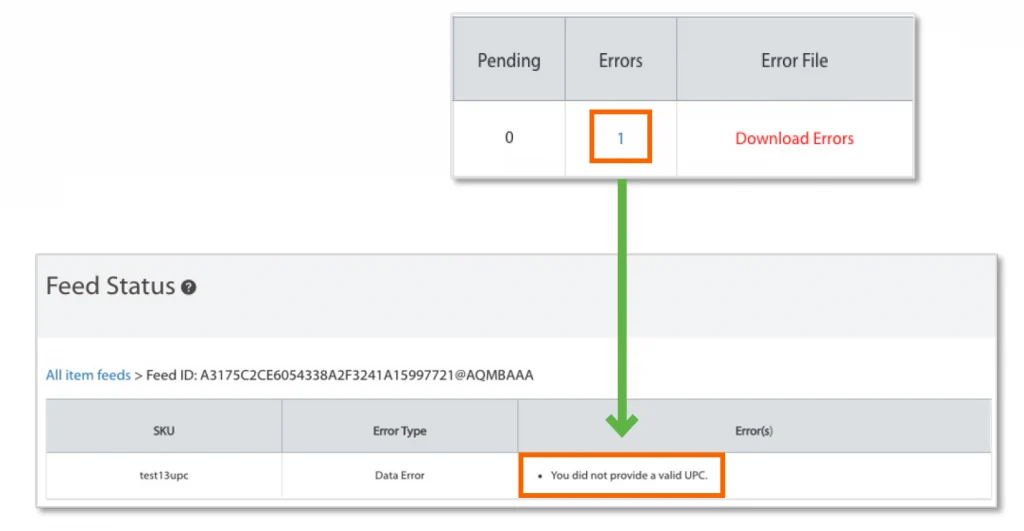
If you receive errors for you uploaded Full Item Spec spreadsheet, it means there is incorrect data or formatting. You will have to correct your data and re-upload to Seller Center.
To see the errors, click the blue number under “Errors”. This will take you to the Feed Status page where you will find the reason for the error. If you click “Download Errors” the Excel spreadsheet will download.
After fixing the error, you will have to resave the Spec in the correct file format again.
Re-upload the corrected Spec in Seller Center. Bear in mind that it can take up to 4 hours for the feed upload to process. Track the status of your new spreadsheet again, to make sure you have resolved all the errors.
Step 6: Track the status of your items
Once your Spec spreadsheet has been submitted successfully, you can track the status of each item by filtering Item Details by a specific SKU.
If an item says “Processing”, then it is still being set up. If you have not launched yet, the item will move to a Staged status. This means the item is ready and will be published once you go live. When you go live, items in your catalog will auto-publish.
And there you have it. The easiest way to upload to Walmart in bulk. Good luck!