
What products look like is a key factor whether people are buying things online or instore. That’s why good product photography matters and can help your customers feel confident that they know exactly what they are buying as they click through your site. But what makes a great product photo? How can you take better product photos? And what are the best ways to take top product photos?
In this post, we will take you through the answers to these questions and more when we explore the 7 essential types of product photos.
Inside this article
How to take top product photos
If you want to take the best product photos you will need to make sure they are:
- Eye-catching
If you want to grab a shopper’s attention and encourage them to click on your product and buy it, then you need a striking photograph that will catch their eye. - Clear
Your product needs to be clearly displayed in the photograph so that it is obvious what is being sold. - Instructive
It should ideally communicate the most important information about your product in terms of size, the material it is made from, and the color/s it is available in. - Evocative
The best product photos help to tell a story that evokes a certain feeling in their viewer, helps them imagine how they would use their product in their own life, and fit in with the narrative around the product.
7 essential ways to take the best product photos
Bearing the above tips in mind, there are also a number of different ways that you can take good product photos. You might use different styles to capture alternative audiences, tell specific stories, or for particular types of products. Here, we outline 7 ways to take professional quality product photos and why you might choose them.
1. The studio composition

A classic shot of products involves what you are selling against a plain background brightened with plenty of bright light. Reasons to use this shot include:
- It is easy to create a clear, eye-catching, and instructive image.
- It will help your product stand out even when reduced to thumbnail size.
- What you see is what you get, which helps you to avoid returns from people who had an unrealistic expectation of what they were buying and you were selling.
- It is a useful way to take product photographs of the variations available within individual products, eg. color, pattern, etc., and link shoppers to additional specific information.
2. The scale shot
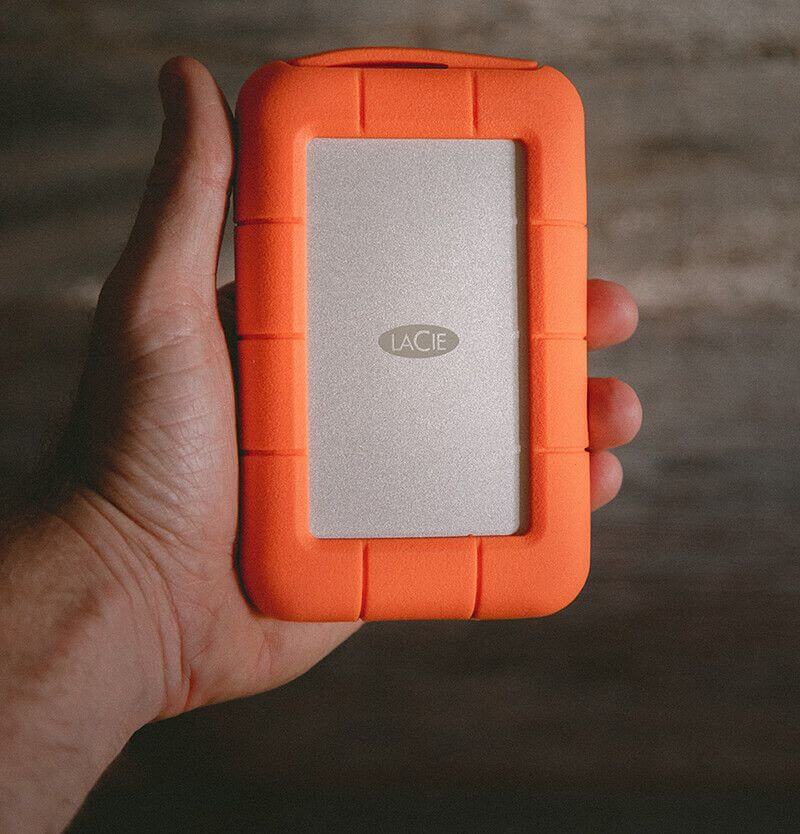
This often involves a close-up shot of your product against something else that helps the viewer envision its scale off-screen. It could be a shot of shoes on a live model, a vase containing a bunch of flowers, or something of a comparable size. Reasons to use this shot include:
- This is a vital shot to include if you want your product photographs to be instructive of the size of your product and is usually not shown by a studio shot.
- It helps to prevent returns as you are able to clearly represent your product’s size.
- It helps to show if the product is for children or adults.
- It helps people to envision whether the product suits their size and style.
3. The lifestyle composition
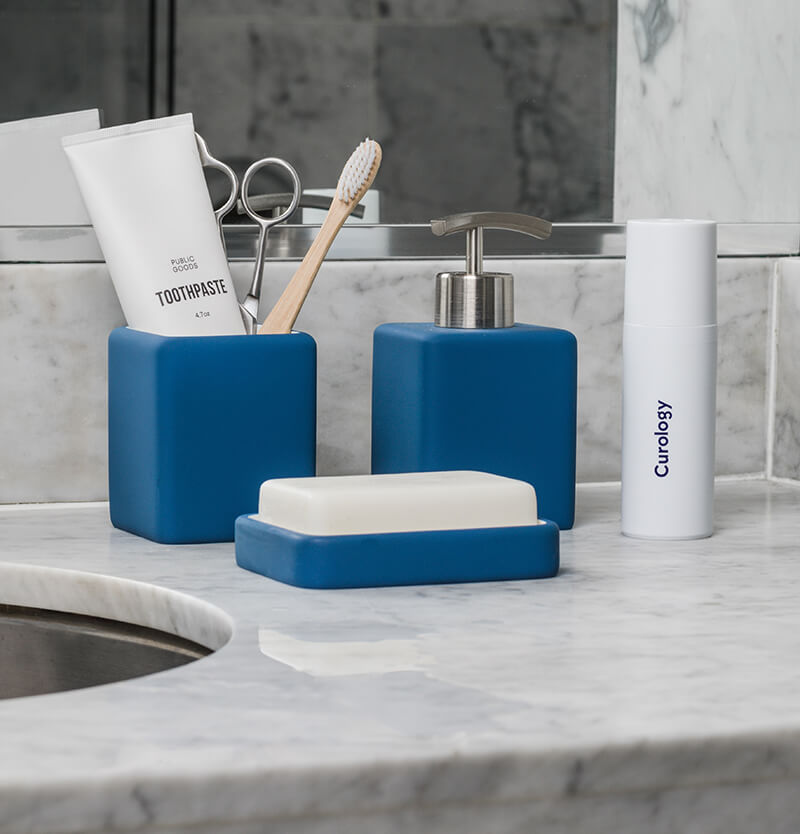
This shot shows off your product doing what it’s supposed to do, where it’s supposed to do it. Reasons to use this shot include:
- It helps people imagine how the product is used in context – it’s much harder to picture how something will look if you just have a shot of a dress, swimsuit, or even products like sofas against a cold studio background rather than in actual use.
- It can be evocative and help people see the product in their own life or even how they envision their life might be like with the product in an idealized way.
- It can be used to show a range of products that go well together to encourage additional sales.
4. The detailed shot
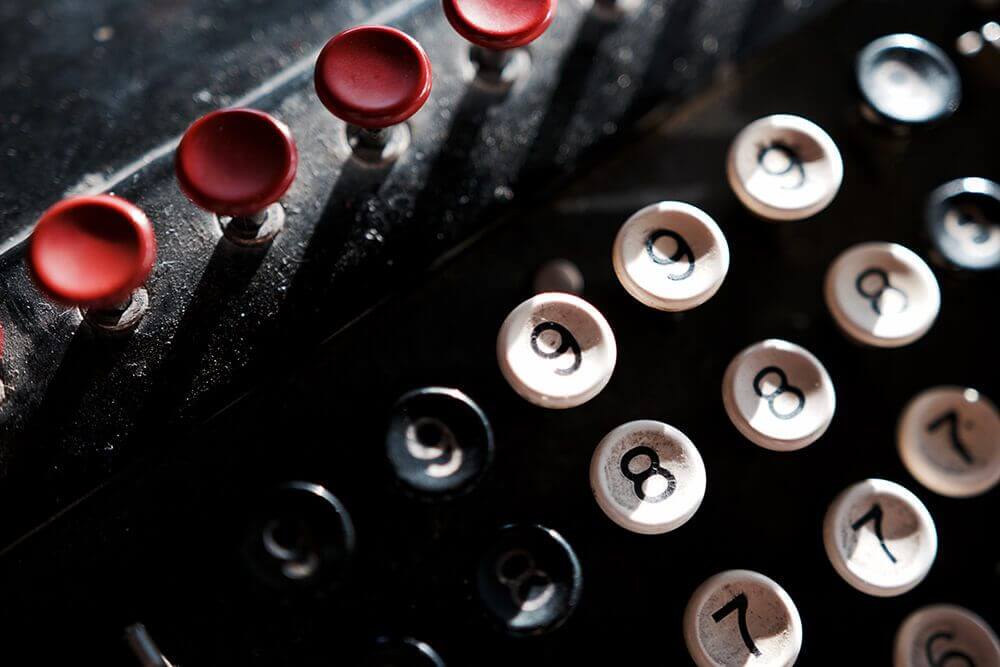
This is another close-up photo but should include the key features of your product from a number of important angles. Reasons to include this are:
- These shots help to show the material your product is made of, clearly represent the pattern, and help people get an idea of the texture and strength of the material.
- You can show any imperfections on your product if you are selling vintage goods or antiques.
- It can help show off different useful parts of your product that don’t appear in every angle, such as a lining material, a clasp for a necklace, or how a book or folder is bound.
5. The process photograph
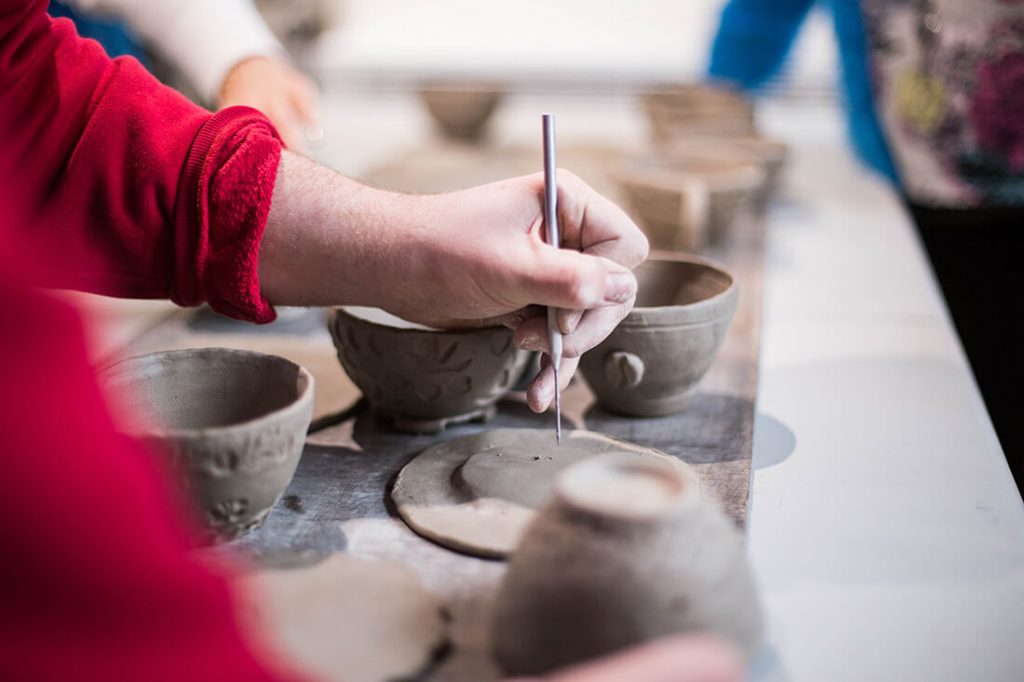
This shot shows the process behind your product and how it is made. Reasons to include this include:
- It can show the skill required to make your product.
- It can feed into a narrative you tell about the product.
- It can be a good way to stand out as a business on social media.
6. The group photo
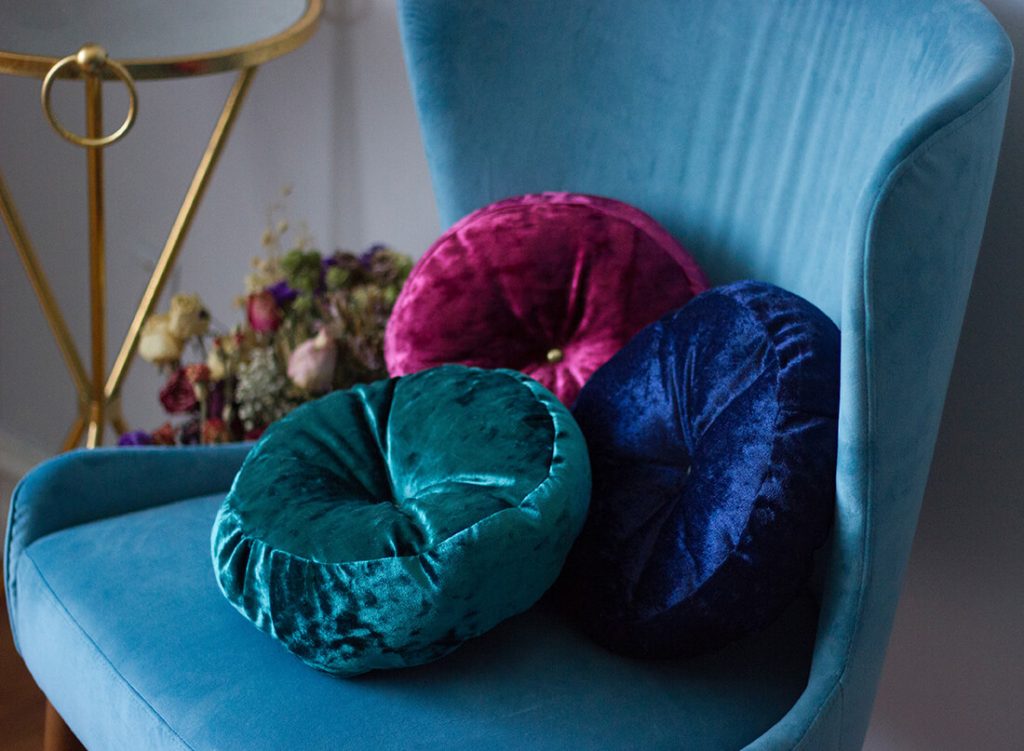
This is a shot of individual products that are often sold as multiple units, grouped together. Reasons to include this shot include:
- If you are selling items that tend to be sold in multiples, it helps customers to get an idea of how many they might need and how they go with different colors and patterns.
- It can help you show off the range of options available in a single product in one shot.
- It can help you show off multiple angles of your product in a single shot.
7. The packaging shot

This is a shot of how your product will be packaged. Reasons to include this include:
- It helps people who are buying something as a gift. This is the photograph many people leave off their product listings. However, since people often buy products as presents, it is actually a great way to get people over the line if they know it’s going to look great from the moment it is delivered.
- It helps show off your brand and branding.
Summing up
The key thing to remember when taking product photos is that they need to be eye-catching, clear, instructive, and evocative. To achieve this, you will need to take a number of different photos. The list above outlines the key styles of photos to use when taking product photographs. Using these photograph styles you’ll take the best product photos with ease and help see your sales increase.