
People often think that a good camera is all it takes to take a good photograph. However, a camera is ultimately just a box with a lens on it that lets light in. To capture a truly great photograph a photographer needs to put their heart and soul into what they allow that box to capture. But this doesn’t have to be difficult and with a few simple tricks, anyone can shoot professional-looking photographs.
In this post, we will outline five top tips on shooting professional photographs. These tips will help you turn a bog standard shot into a stunning piece of photography.
Inside this article
1. Understand your camera
It can be tempting to dive right in and take photos on an automatic setting. However, even with the best camera systems in the world, the human intellect is still a better judge of the fundamentals that make a photograph great. Nevertheless, we need to take the time to understand the controls to be able to offer this level of insight. There are three fundamental pillars when it comes to understanding photography:
Pillar 1: What is aperture?
Aperture refers to how much light you allow to pass through an opening in your lens. This light then hits either the film or sensor of your camera. Aperture is measured in ‘F-numbers’ which range between F1.4 and F32. Somewhat confusingly, the larger the F-number, the smaller the hole will be letting light through. Thus, F32 lets the least light through and has the smallest hole and F1.4 lets the most light through the largest hole.
There is also a more profound effect caused by the change in the size of the hole letting light in. A higher F-number produces a sharper image across the entirety of the image. This is great for landscapes where it is always a struggle to capture the magnitude of what see through our own eyes. The smallest F-number will see focus sharpened in only the foreground and the background will blur. This is great for portraits, wedding shots, sport, and nature photographs due to the added intensity.
Between the two extremes is something known as the ‘depth of field’. As you move from a low F-number upwards, the background blur will reduce. The light conditions will play a part in what F-number you are able to use, along with your choice of shutter speed. For example, if you are taking a photo at dusk you will likely need to use a lower F-number to allow more light in. You also have to consider shutter speed…
Pillar 2: Why is shutter speed important?

As well as understanding what the aperture does, you also need to know how it interplays with shutter speed. Shutter speed refers to how long your sensor (or film) is exposed to the amount of light let through your lens by your aperture setting. Confused? Well, said differently, aperture controls how much light gets in. Shutter speed controls how long the light is let in for.
The longer you let light in for, the more of an impression it will leave and you will usually be able to use higher F-numbers (getting a better depth of field). However, slower shutter speeds come at a cost in terms of your ability to prevent camera shake. Faster shutter speeds allow you to capture fast-moving objects sharply, but will likely require a lower F-number, giving you less depth of field.
Many modern DSLRs offer shutter speeds as high as 1/4000th of a second. At the other end of the spectrum, 30 seconds tends to be the highest pre-defined setting for longer exposures. There is also a ‘bulb’ setting which allows you to determine when to close the shutter whenever you please. It is important to remember that even at 1/60th of a second you can start to get camera shake. Under 1/30th of a second, you will certainly need a tripod if you don’t want to blur the image. Fast-moving objects will require faster shutter speeds the faster they are moving, with things like bird and insect wings benefiting from the fastest shutter speeds.
Pillar 3: What is ISO?
Both shutter speed and aperture take their position from your ISO settings. ISO measures how sensitive your image sensor will be to light. A higher ISO number will allow you to take photographs in even the lowest light. However, this comes at a cost in terms of image sharpness. Indeed, it introduces something called noise into the image. For film, this noise came in circles, whereas in digital it appears in square form.
If your ISO settings are under 800, you will rarely notice the noise with the naked eye. However, it is best to choose the right ISO for the conditions you are in. A sunny day will usually suit your lowest ISO setting (typically 100). Cloudy weather might require a jump to as high as 400 ISO. A dimly lit room could well need ISO 800 whilst a scene with just reflected light or moonlight may benefit from ISO settings of 1600 or more.
2. Find a unique perspective
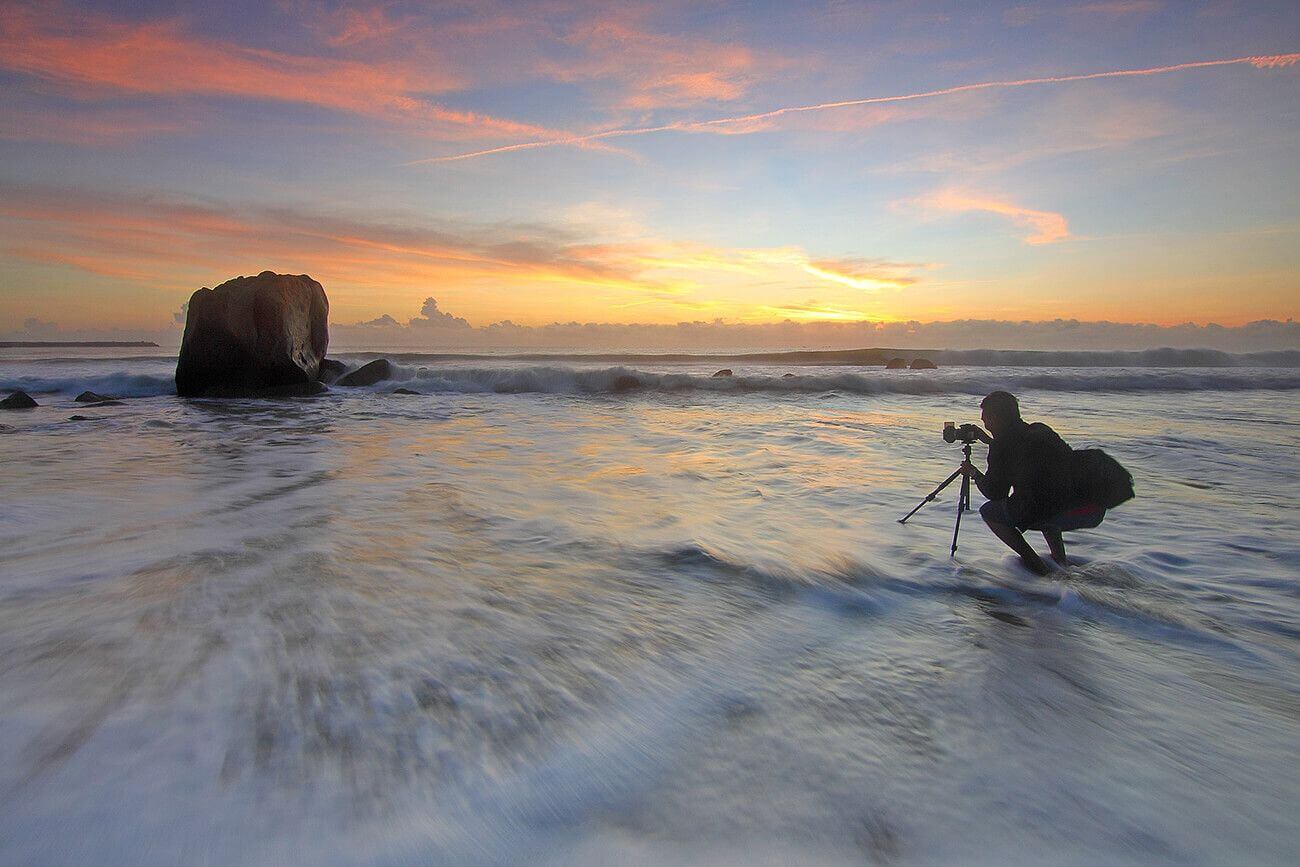
Once you’ve decided on an interesting subject for a photograph, you should consider finding a unique perspective on it. If we just point at click at something beautiful, anybody can do this. Finding a new angle to take a shot from can transform an image completely and make it look more professional. You can even find angles that make it difficult to tell what the shot is of in the first place which can add an extra layer of intrigue.
If you think about professional photographers, no doubt one image that springs to mind is someone crouching down. Another might be them climbing atop a wall or perching on a rickety chair. This is because they are trying to find that angle to turn a flat image into one with a unique perspective with depth.
3. Compose your shot carefully
How you compose photos is probably the single most important skill when it comes to taking professional shots. Unfortunately, it is also probably the hardest to teach. Nevertheless, there are a number of tricks that make it easier to compose and shoot more professional photographs.
Remember the rule of thirds
When taking landscape shots try and envision your shot broken down into thirds both vertically and horizontally. Compositions tend to work best when the most interesting part of your image falls on the intersections of these lines. You can also play around with your aperture settings so that the focus of the image is sharpest in the chosen area too.
Find the golden triangle

Where an image has strong diagonal elements, consider visualizing something called the golden triangle used in painting and photography. This involves envisioning a line crossing from one corner of your photograph to the other. Then draw imaginary lines from the opposing corners meeting the middle line at a right angle (see image). Again, the image will be more pleasing when its diagonal elements follow these lines and the focus is sharpest at one of the points where the lines cross.
Draw in the viewer
If you find envisioning lines on images difficult, then don’t despair. You can also use natural features within your subject image that will draw viewers into your point of focus. For example a road, path, spiral staircase, fence, or tree branch. Look for features that lead the viewers into the photo and try and avoid keeping features that guide viewers towards the edge of your photograph.
4. Less can be more
When taking a photograph, sometimes less is more. For example, we can create a more dramatic image by deliberately losing detail of something in the shot. This includes creating a silhouette, using a low aperture to blur out the background, shooting in black and white or adjusting your exposure to drop out the background in a dark scene. Zooming into a shot can add even more blur to a background and sharpen focus even more tightly.
Equally, we can add intrigue to a photograph by zooming in to a small segment of our subject. This might make it difficult to know what the photograph is of, or provide a new way of seeing something that you cannot achieve with the naked eye. This is great for things with patterns, lines, and textures and works well with the methods discussed above in terms of composition.
5. Digitally style the finish
Many people feel editing their photographs once they’ve been shot is akin to cheating. However, since the dawn of photography people have been editing the original shot, getting sharper contrast in the darkroom with longer exposure times and dodge and burn techniques. If you want to create a professional image, you need to use every tool available to you.
There is now a range of desktop image tools that make editing photographs easy. Img.vision also offer a range of editing tools both before and after upload for people looking for image hosting for blogs, websites, and online auctions. Try playing around with a few pf your favorite photos to see how easily a bit of digital styling can transform a dull and lifeless photo into a vibrant masterpiece that captures the viewer’s attention.